How to Build an Interactive Anatomy Diagram
Build an interactive anatomy diagram with verified sources, clear orientation, purposeful hotspots, labeling practice, accessible alternatives, and fair review.
An interactive anatomy diagram should help a learner see structure, relationship, orientation, or function more clearly than a static page can. The interaction is not the point. It is a controlled way to inspect evidence, commit to a location, retrieve a name, trace a pathway, or explain why nearby structures matter.
This guide covers the complete workflow: define the learning job, verify the anatomical source, establish orientation, choose an interaction, manage density, provide accessible routes, and test what the learner can reasonably conclude. It treats anatomy diagrams as educational media—not diagnostic tools or substitutes for supervised clinical education.
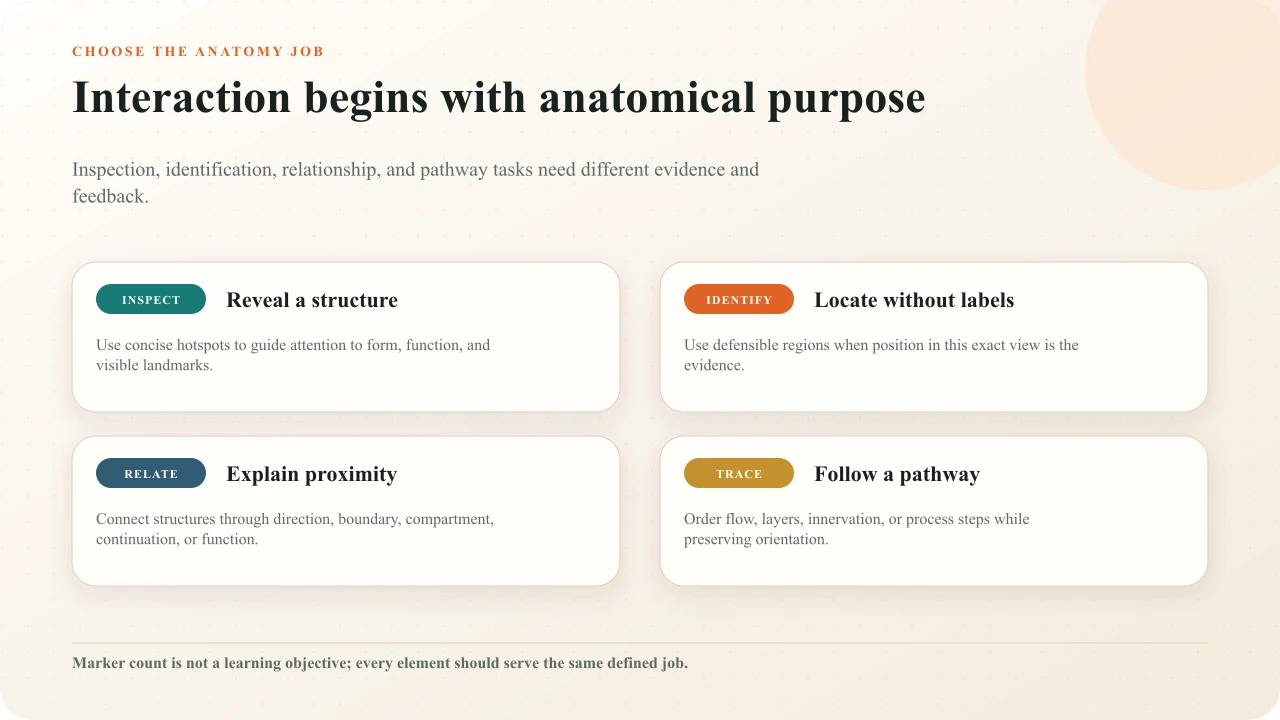
Choose one anatomy learning job
Write one explicit task before adding markers. “Inspect the four heart chambers and relate each one to blood flow” is a guided exploration. “Identify the left ventricle in an anterior section” is a spatial identification task. “Label the organelles from memory” is retrieval. “Trace the route from the vena cava to the aorta” is a sequence-and-relationship task. These jobs need different evidence and feedback.
Define the audience and prerequisite knowledge. An introductory learner may need region names, directional terms, and a simplified view. A radiography learner may need a specific plane and modality. A clinician in continuing education may need variation, pathology, or procedure context that an idealized diagram cannot provide. Do not increase marker count to make one image serve incompatible audiences.
Verify the source and teaching scope
Record the image's authority, creator, date, permissions, modifications, specimen or population context, view, scale, and intended use. Have a qualified subject reviewer verify every highlighted boundary and label. The US National Library of Medicine's Visible Human Project, for example, provides public-domain cross-sectional cryosection, CT, and MRI datasets designed for anatomy reference and research. That authority does not mean every crop, recoloring, or label you add is automatically correct.
Preserve the source's limits. A stylized illustration may omit fascia, vessels, variation, or depth to teach a core relationship. A single cadaveric image represents one body and one section. A scan has modality-specific appearance. Name the simplification instead of letting clean visual design imply universality. Keep attribution and review notes with the project, not only in an email that disappears after publishing.
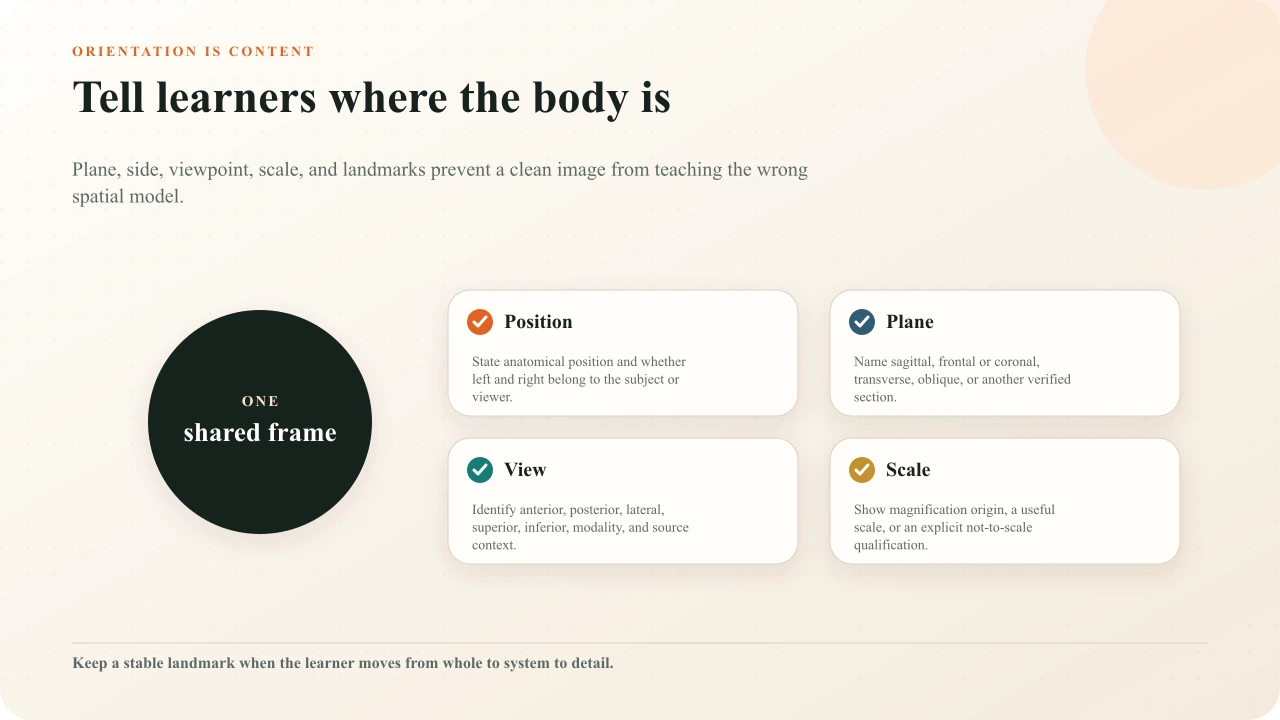
State orientation plane and scale
Orientation is part of the content. State whether the image is anterior, posterior, lateral, superior, or inferior and whether left and right refer to the subject or viewer. For sections, identify sagittal, frontal or coronal, and transverse planes. The OpenStax anatomical terminology chapterdemonstrates how directional terms and planes create a common reference for describing the body.
Add a scale or explicit “not to scale” note when size could affect interpretation. If a detail is magnified, show where it came from. If the diagram changes plane or orientation between scenes, use a visible transition rather than silently rotating the learner's mental model. Consistent anatomical position is more useful than decorative camera movement.
Design the base image before markers
Make the static image understandable before interaction. Establish a readable title, orientation cue, limited palette, visible boundaries, and a clear focal structure. Remove decorative labels that compete with the task. Do not rely on subtle color differences when texture, outline, position, or a key can communicate the same category more robustly.
Reserve space for learner feedback. A large card should not cover the structure it explains. If the image is dense, use staged scenes or a guided sequence rather than shrinking text and stacking markers. The general interactive-diagram guideexplains how to move from a visual model to purposeful reveal and assessment; this anatomy guide adds the subject-specific requirements for orientation, source authority, and educational scope.
Match the interaction to the evidence
Use an info hotspot when the goal is guided inspection. Use click regions when the learner must locate a structure and the boundary is defensible. Use label-the-image when name-to-position retrieval is the purpose. Use ordering to trace layers, flow, innervation, or a physiological pathway. Use multiple choice or open response for function, comparison, or explanation that cannot be inferred from a click alone.
Marker-first design
Place twelve pins on an organ, reveal a definition for each one, and call completion mastery.
Evidence-first design
Guide inspection of four structures, ask the learner to identify two without labels, then explain one relationship with targeted feedback.
Mix interactions only when the sequence changes the cognitive job. Exploration can prepare for retrieval, and retrieval can prepare for explanation. Avoid adding a quiz after every reveal. The hotspot-design guide covers marker treatment, visual states, target geometry, and feedback in more depth.
Use hotspots for guided inspection
A useful anatomy hotspot answers a focused question: what is this structure, where is it relative to its neighbors, what passes through it, or why does it matter in the current lesson? Keep the first reveal concise and connect it to visible evidence. A hotspot card can contain a detail image or context, but it should not become a textbook page floating over the anatomy.
Select each marker to connect a visible heart structure with its function.

Interactive layer loads as you approach
In the heart example, each hotspot supports deliberate inspection of a visible structure. The interaction is strongest when the lesson tells the learner what relationship to look for before opening markers and asks them to use that relationship afterward. Opening every marker is an activity record, not evidence that the learner can later identify the structure.
Use labeling for retrieval
Labeling asks the learner to produce or match a name without the answer already sitting on the image. Remove decorative labels that leak the solution. Use a consistent naming system, accept justified synonyms where the activity supports them, and explain which level of specificity is required. “Vessel,” “artery,” and “left anterior descending artery” are not interchangeable answers to every learning objective.
Choose each organelle name, then select its matching region in the plant cell.

Interactive layer loads as you approach
Use feedback to reconnect name and structure. A correct response can state the visual clue or neighboring relationship that makes the identification reliable. A wrong response can contrast the selected structure with the target. Repeating only the correct term misses the opportunity to refine the learner's discrimination.
Teach relationships not marker collecting
Anatomy is relational. Ask what lies anterior, what passes through an opening, which structure shares a compartment, how layers continue, or where a pathway changes direction. The NLM's Visible Human data-to-knowledge projectsdescribe educational uses of linked labels, sections, and three-dimensional views. Treat those examples as a reminder that names gain meaning through position and connection, not as proof that any particular interactive diagram improves outcomes.
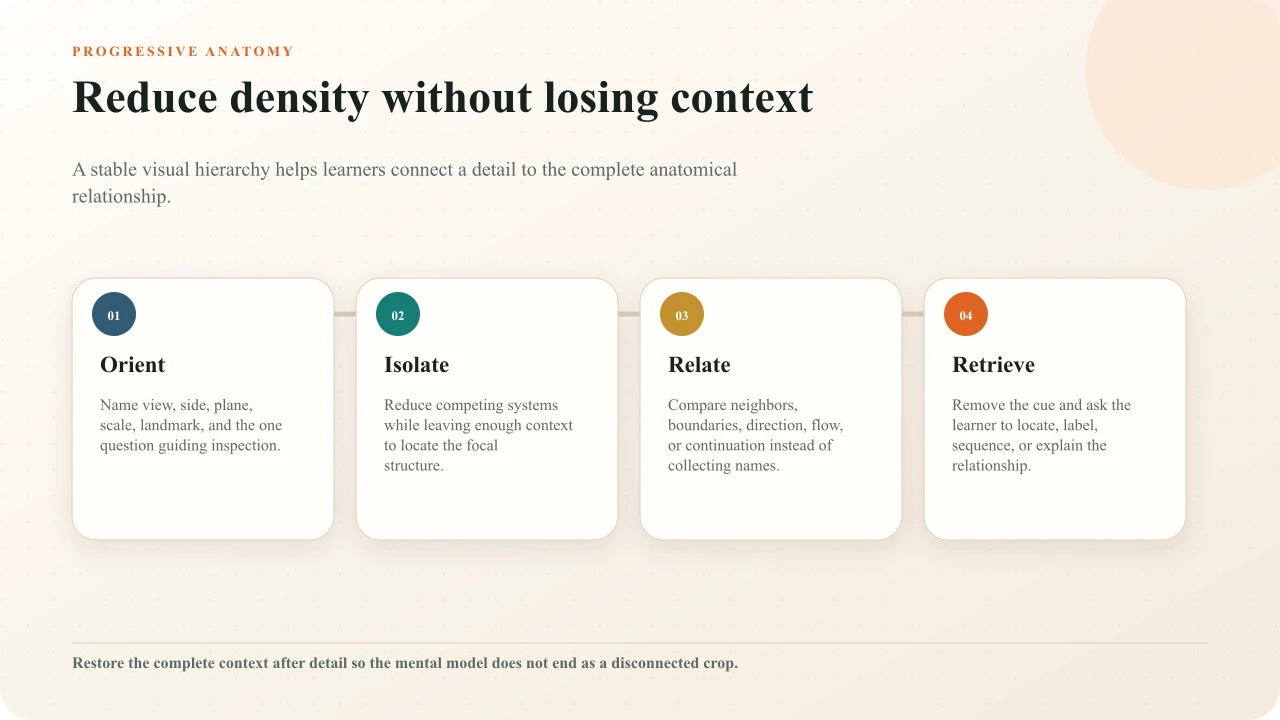
Use progressive reveal to manage complexity. First orient the learner, then isolate the relevant system, then compare neighboring structures, then restore the complete context. Preserve a stable landmark so each transition can be mentally registered. Avoid arbitrary zooms that remove the connection between detail and whole.
Handle dense and ambiguous structures
Prefer regions to tiny points when the anatomy occupies an area. Trace the actual intended boundary and ask a subject reviewer to test edge cases. If two valid structures overlap in the chosen projection, change the view, permit both where defensible, or ask a non-spatial question. Do not punish a learner for ambiguity created by the illustration.
At the delivered size, neighboring targets must remain distinguishable. W3C's target-size guidanceexplains the minimum target-size criterion and its exceptions, but anatomy design should also consider the fairness of the spatial evidence. A technically clickable two-pixel capillary is still a poor identification task on a phone.
Provide an accessible parallel route
Preserve the visual diagram for learners who use it, then add structured text that names the same meaningful relationships. The W3C tutorial on complex images recommends short identification plus a longer description when a complex image conveys substantial information. Organize named controls in a logical anatomical or instructional order instead of DOM order derived from where markers happened to be created.
Make every action available from a keyboard and without path-based pointer gestures. W3C guidance on keyboard operation andpointer gesturesprovides useful criteria. Use text, shape, icon, and state—not color alone—to communicate selection and correctness. An alternative route must preserve the learning purpose: a list of names is not equivalent to spatial identification unless it also conveys the relevant relationships.
Separate learning from diagnosis
State that the activity is educational and describe the represented context. Do not use an idealized diagram as patient-specific guidance, and do not imply that selecting a structure qualifies someone to diagnose, treat, or perform a procedure. Clinical and health-professions education requires qualified subject, scope, safety, and institutional review beyond the visual interaction itself.
Respect human-source context. When using cadaveric or clinical imagery, follow the applicable consent, privacy, institutional, licensing, and attribution requirements. Avoid sensational presentation. Interactivity should help learners study the evidence with care, not turn human material into decorative engagement.
Test with a cold learner
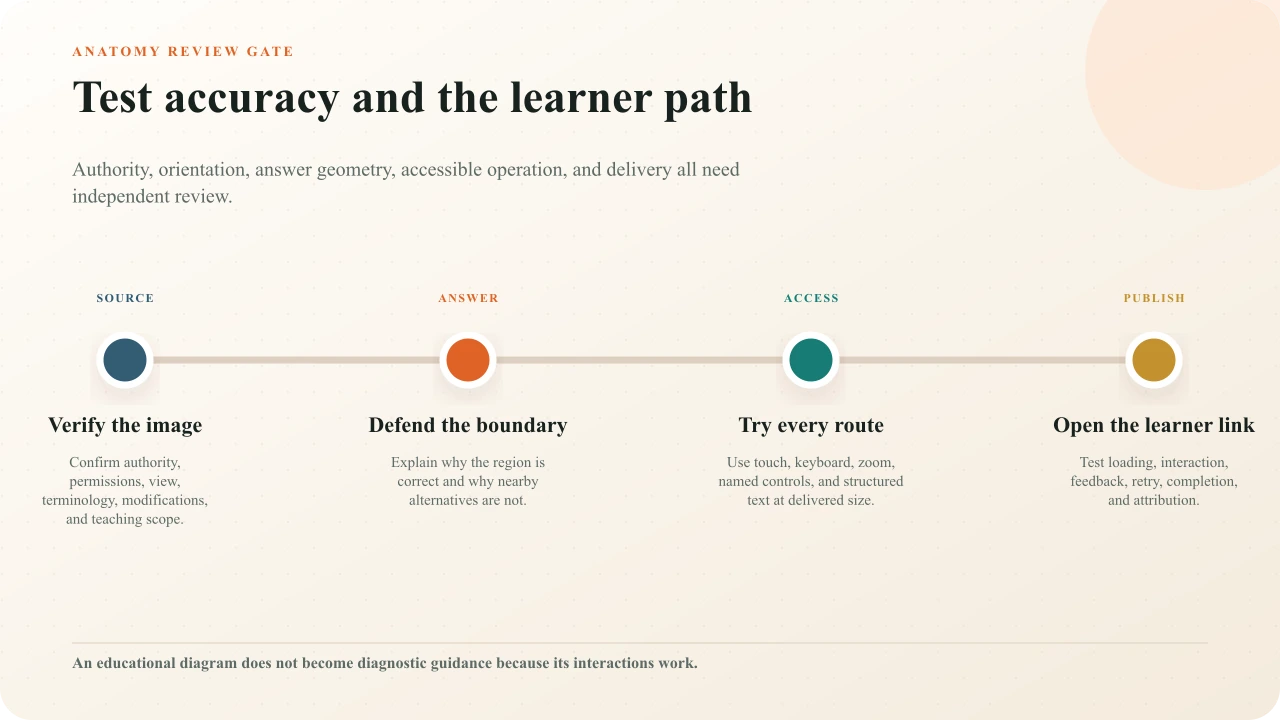
Verify the source
Have a qualified reviewer confirm authority, permissions, orientation, terminology, boundaries, simplifications, and teaching scope.
Read the base image
Ask a learner to state view, side, plane, scale, landmarks, and task before opening any interaction.
Defend each answer
For every region or label, explain why it is correct and why adjacent alternatives are not; repair ambiguous projections.
Try every input path
Complete the experience with touch, keyboard, zoom, named controls, and the structured-text route.
Test phone and desktop
Check delivered target size, card placement, preserved evidence, readable states, and the same learning purpose at both sizes.
Open the published route
Test the real share or embed path, including access, loading, interaction, feedback, retry, completion, and attribution.
Build it in Interakly
In Interakly Image Studio, upload a verified image, add the smallest set of elements that supports the objective, position and size regions against the actual anatomy, configure content and marker treatment, then use Preview to complete the task as a learner. The interactive-image creation guide covers the end-to-end editor workflow, and the example library shows other purposeful patterns.
Interakly can present configured hotspots and image activities, collect supported responses, and publish learner experiences. It does not verify anatomical accuracy, source rights, clinical appropriateness, accessibility compliance, assessment validity, or diagnostic use. Keep those approvals in the project record and recheck them when the source or labels change.
Place the diagram inside a broader visual-learning plan
Use signaling, active inspection, explanation, and practice deliberately—without assuming that interaction alone produces learning.
Sources and further reading
- US National Library of Medicine: Visible Human Project
- NLM: Visible Human Project—From Data to Knowledge
- OpenStax: Anatomical Terminology
- W3C WAI: Complex Images
- W3C WAI: Image Maps
- W3C WAI: Target Size (Minimum)
- W3C WAI: Keyboard
- W3C WAI: Pointer Gestures
FAQ
What makes an anatomy diagram interactive?
The learner can take a purposeful action with anatomical evidence: inspect a structure, reveal a relationship, identify a region, label a part, sequence a route, compare planes, or answer a focused question. Extra pins alone do not create a learning task.
Which interaction is best for an anatomy diagram?
Use info hotspots for guided inspection, click regions for spatial identification, label-the-image for name-to-location retrieval, ordering for pathways or layers, and questions for function or relationship reasoning. Choose the interaction from the learning claim, not novelty.
How many hotspots should an anatomy diagram have?
There is no universal maximum. Include only structures needed for the current objective, group or sequence dense material, keep targets distinct at the delivered size, and test whether a new learner can identify the relevant evidence without opening everything.
Can I use any anatomy image I find online?
No. Verify authority, accuracy, orientation, labels, population and specimen context, modification history, permissions, and attribution. Record the exact source and reviewer. An interactive layer does not correct an inaccurate or unauthorized base image.
How do I make an anatomy diagram accessible?
Keep meaningful spatial relationships in the image, then provide structured text and named controls in a logical order, keyboard and non-pointer operation, sufficient target size, non-color cues, descriptive feedback, and an equivalent way to complete the learning purpose.
Can an interactive anatomy diagram be used for diagnosis?
This guide addresses education, not diagnosis. A teaching diagram may simplify, idealize, or show one specimen or view. It should name its scope and source, distinguish normal variation from error where relevant, and never be presented as patient-specific clinical guidance.
Make one anatomical relationship unmistakable
Choose a verified source, state its orientation and limits, guide inspection, ask for a credible learner action, and test the same meaning through visual and non-pointer routes.
Create an interactive image