How to Make an Interactive Floor Plan for Learning
Turn a verified floor-plan image into an orientation, inspection, route, or measurement lesson with clear interactions, accessible alternatives, and honest limits.
An interactive floor plan should help a learner understand a place, not merely decorate a drawing with pulsing pins. The meaningful task might be to orient from an entrance, identify equipment, compare routes, interpret plan symbols, inspect a room, or calculate from visible dimensions. Each requires different source evidence, interaction geometry, feedback, and review.
This guide turns an approved static floor-plan image into a bounded learning experience in Interakly Image Studio. It covers source verification, orientation, hotspots, spatial questions, measurement, keyboard and text alternatives, phone testing, and version control. It also draws a firm boundary between a teaching artifact and an operational building, facilities, or emergency system.
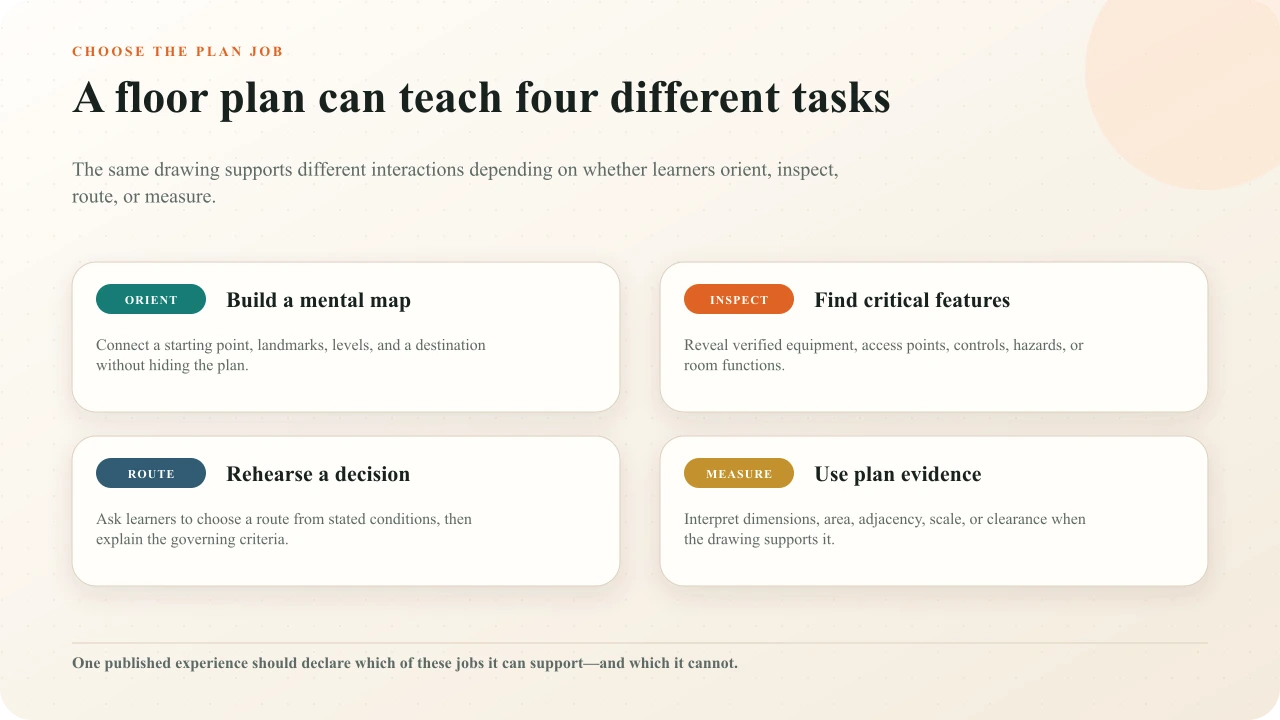
Choose one floor-plan job
Orientation builds a mental model: current location, level, stable landmarks, destination, and direction. Inspection asks learners to find or examine verified rooms, equipment, access points, hazards, or controls. Route rehearsal asks them to apply stated criteria to a path. Measurement asks them to use dimensions, area, scale, adjacency, or clearance visible in the drawing. Write the job as a verb and an object, such as “locate both isolation controls from the north entrance.”
Avoid combining all four jobs merely because the editor offers many elements. A first-time visitor trying to learn landmarks does not need a scored area calculation in the same pass. A facilities learner interpreting room area does not need emergency-route animation unless that relationship is part of the objective. A small, explicit task creates a readable plan and a result that can be interpreted without guessing what the experience was meant to teach.
Define the evidence and its limit. Selecting the correct room can show location recognition in the presented plan. Choosing a route can show application of the stated conditions. Neither proves that someone can navigate the physical building under changing, stressful, smoky, crowded, inaccessible, or otherwise real-world conditions. Put that limit in the design brief before the plan is styled.
Decide whether a static plan fits
A static interactive image fits when the plan is a stable teaching artifact and the learner action is bounded: reveal a room description, select a region, follow an authored sequence, match a label, or answer from printed dimensions. It works especially well for a controlled orientation exercise, a historical building plan, a simplified process layout, a classroom measurement problem, or a verified inspection illustration.
Choose a purpose-built system when the user needs current building data, live hazards or occupancy, search, continuous pan and zoom, coordinate accuracy, turn-by-turn navigation, accessible-route computation, sensor state, facilities changes, or operational control. A screenshot of a CAD or BIM system loses the data and freshness that make that system trustworthy. Interaction cannot restore what the export removed.
False operational map
A months-old screenshot is published as the safe route, with no owner, version, alternative route, or link to current instructions.
Bounded learning plan
An approved drawing rehearses one orientation decision, names its version and limits, and directs learners to current posted and organizational authority.
Verify the source drawing
Record the source owner, permission, building or site, level, drawing name, revision, approval date, scale, orientation, legend, and known omissions. Confirm room names, walls, doors, exits, stairs, elevators, equipment, assembly points, accessible routes, and temporary conditions only when those features are relevant and supported by the authoritative source. Remove revision clouds, engineering layers, or private details that do not belong in the learner view.
The U.S. Occupational Safety and Health Administration provides an example evacuation floor plan and text version, and its emergency-preparedness guidancediscusses diagrams, exits, assembly locations, equipment, marking, and unobstructed routes. These are useful planning references, not a substitute for requirements that apply to a particular workplace, jurisdiction, organization, building, or person. Obtain qualified review for real safety use.
Export at enough resolution that the smallest task-relevant label remains legible at the real learner size. Crop irrelevant sheets and margins without removing the title, level, orientation, scale, or legend needed to interpret the task. If a plan contains several floors, prefer one clearly named scene per floor or an explicit transition rather than stacking tiny sheets into one unreadable canvas.
Create a stable orientation chain
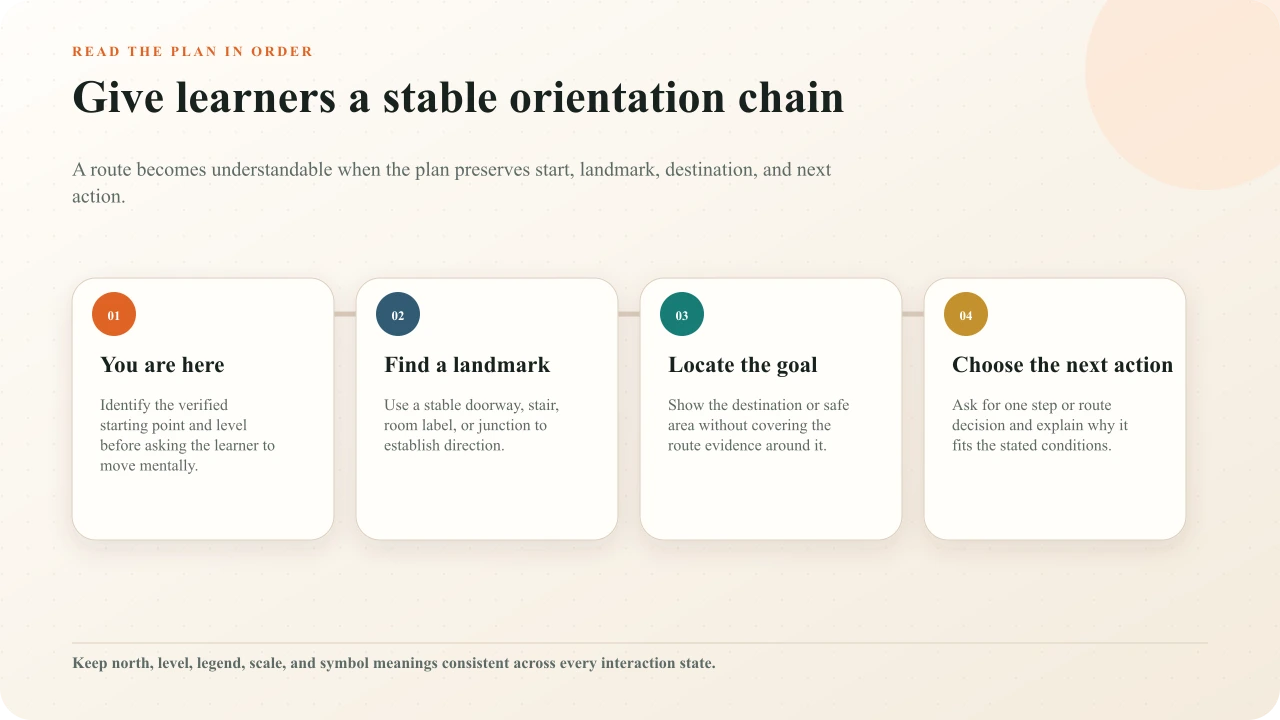
Begin with “You are here” only when the starting point is true for the learner or clearly framed as a scenario. Then identify a stable landmark such as an entrance, stair, reception area, corridor junction, or distinctive room. Show the destination and ask for one next action. That chain—start, landmark, destination, action—helps the learner build a route rather than memorize an isolated colored line.
Preserve orientation across every state. Do not rotate the plan between explanation and question, change symbol meaning, crop away the landmark, or move a label over the route evidence. If north is not relevant, use a meaningful facing direction or entrance reference. If it is relevant, display it consistently. State the floor whenever the same room name or route can exist on more than one level.
Build the plan in Image Studio
Prepare the verified image
Export the approved level or teaching drawing, remove irrelevant private detail, preserve orientation and legend, and record the revision.
Create the interactive image
Upload the plan in Image Studio, add a specific title, and write an image description that identifies the place, level, orientation, and purpose.
Add the primary activity
Choose information, location, route, label, sequence, or measurement from the learner job rather than mixing every element type.
Place against visible evidence
Draw regions to defensible boundaries, label hotspots meaningfully, and keep important walls, doors, dimensions, and symbols visible.
Write feedback and alternatives
Explain the governing evidence and provide a route that does not depend on color, hover, or precise pointer use.
Preview, publish, and verify
Complete the real learner route on desktop and phone, then review the shared or embedded page with an independent subject reviewer.
The full interactive-image creation guidecovers upload, canvas placement, styling, preview, publishing, and embedding. A floor plan is a purpose-specific use of the same Image Studio, so its activities retain the same response, feedback, and image-relative placement model.
Use hotspots for orientation and inspection
Use an Info hotspot when selecting a verified place should reveal a concise explanation. Name it “North stair,” “AED cabinet,” or “Accessible entrance,” not “More” or “Click here.” The first sentence should connect the location to a visible cue: adjacent room, corridor junction, symbol, door swing, floor label, or measured boundary. If the explanation could be placed anywhere, the hotspot is not teaching the plan.
Use a guided sequence for a planned inspection or orientation tour when order matters. Each stop should answer a different practical question: what is here, how is it recognized, what condition is checked, where does the learner go next, and which authority governs the real action. Keep decorative text and marker labels from covering doorways, route junctions, dimensions, or symbols.
The image-hotspot design guide explains marker treatment, label clarity, target placement, feedback, and clutter control. The interactive-map guide adds guidance for legends, routes, map hierarchy, and deciding when a static interactive image should give way to a real mapping application.
Use regions for route decisions
Use Click region when location itself is the evidence. Draw the full defensible room, corridor segment, exit, or assembly area rather than a tiny invisible point. If more than one route fits the stated conditions, accept every defensible answer or add the missing constraint. Have an independent reviewer answer without seeing the configured region; author familiarity hides ambiguity.
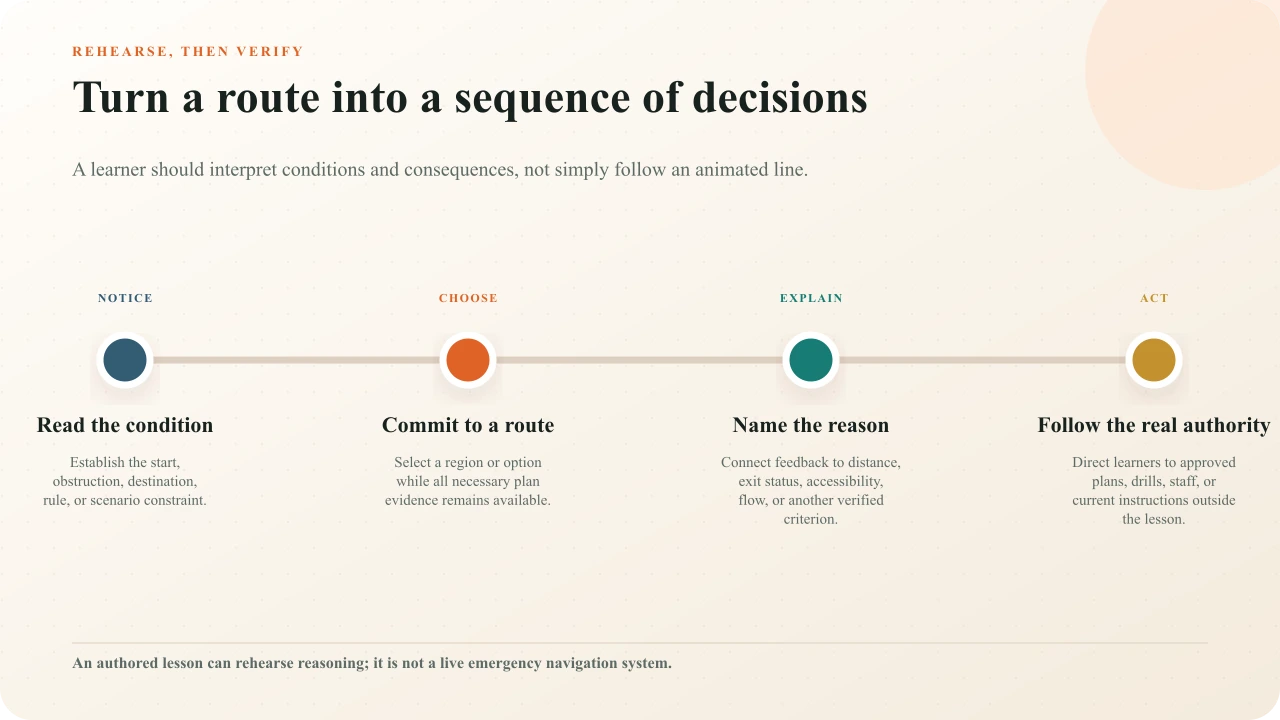
A route activity should show the decision conditions before the response: starting point, destination, obstruction, access need, relevant rule, or scenario status. After commitment, explain why the route fits those conditions. Do not teach that the shortest line is automatically safe or accessible. Do not invent a route from visual intuition when current responsible authorities have not verified it.
Teach measurement from plan evidence
A floor plan can support area, perimeter, scale, clearance, adjacency, and quantity questions when the necessary dimensions and units are visible and authoritative for the exercise. Ask learners to identify the measurements they used before entering a result. Accept appropriate equivalent formats, state rounding rules, and distinguish a simplified instructional drawing from a construction document.
Read the 6 m and 4 m dimensions, calculate the floor area, and enter the number.

Interactive layer loads as you approach
The real Interakly example above presents a six-metre by four-metre room and asks for its area with a numeric-input activity. The relevant evidence stays visible in the drawing, the response expresses the calculation, and feedback can reconnect the answer to length multiplied by width. It demonstrates a measurement lesson, not a claim that the drawing is suitable for construction or facilities decisions.
Separate rehearsal from operational authority
An authored experience is a snapshot. Buildings, access conditions, equipment, hazards, staffing, and instructions can change after publication. Put the source revision and review owner in the project record, define a review interval, and trigger review whenever relevant building information changes. If the lesson is retained for historical or illustrative use, say so visibly rather than letting an old route appear current.
Emergency and safety content needs an explicit handoff: follow posted plans, alarms, drills, trained staff, emergency services, and current organizational procedures. Do not make completion of the interactive plan the only access to critical instructions. Do not frame response data as proof of readiness. This article is a design guide, not legal, safety, architectural, accessibility, or code-compliance advice.
Provide a non-pointer route
W3C guidance for client-side image mapsstresses meaningful text alternatives for areas. WCAG guidance also requires attention to keyboard operation, alternatives to multipoint or path-based gestures, and target size. Test the actual interaction and surrounding player or page; a large visual circle does not guarantee that the actionable target, focus order, or alternative is usable.
Provide named choices or an ordered location list when precise spatial clicking is not the only evidence the outcome requires. Preserve the relationship: “From Reception on Level 1, continue east past Conference Room A; the accessible entrance is the second door on the right” conveys more than “Marker 4.” Visible focus, selected state, instructions, feedback, and retry must remain clear without relying on hover or color alone.
Write a useful floor-plan alternative
The W3C tutorial on complex images recommends short identification plus a longer description when the relationships carry meaning. Start by naming the site, level, orientation, and lesson purpose. Then describe the stable layout, important landmarks, relevant symbols, routes or adjacencies, and the conclusion the learner should be able to draw. Keep decorative or private detail out.
Structure the alternative so it can support the same task where possible. A table can list rooms with level, corridor, adjacent landmark, function, and status. An ordered route can identify each decision point. A measurement problem can state the printed dimensions and unit. Do not dump every label into one paragraph; the result should preserve hierarchy and relationships, not simulate visual clutter in text.
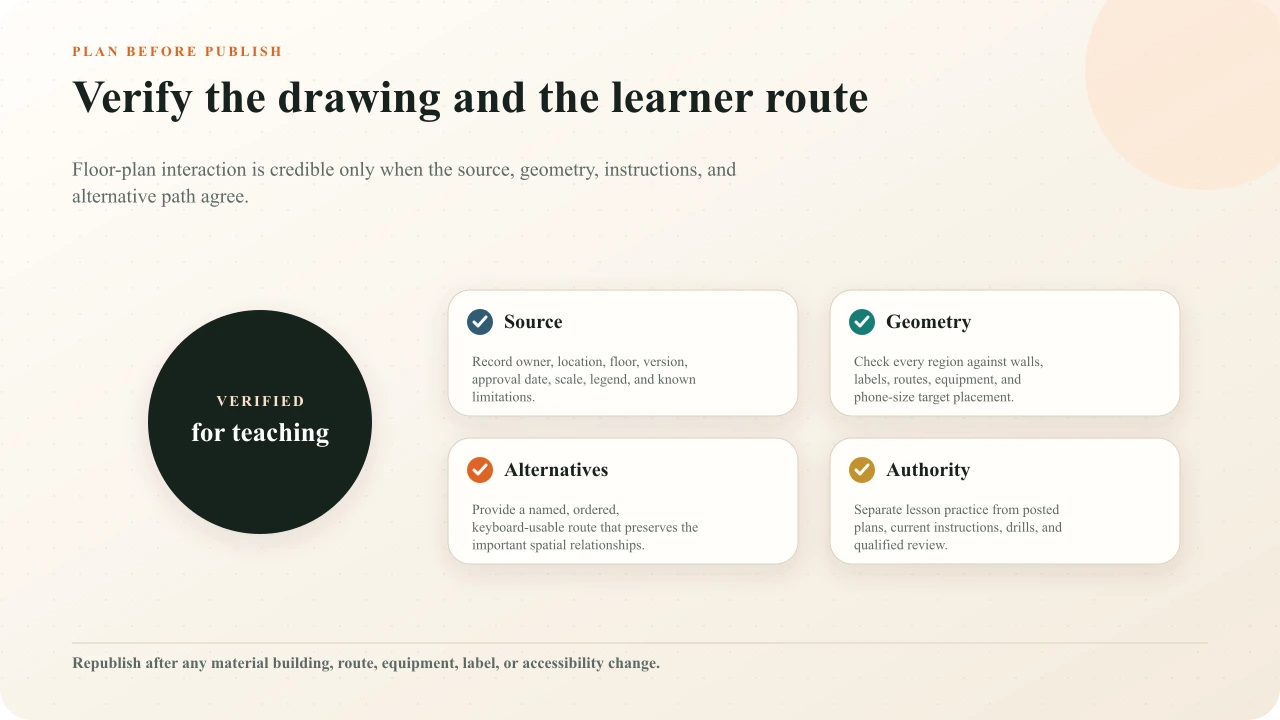
Test the complete learner route
Preview as a learner at the intended desktop and phone sizes. Confirm that the full plan is understandable, every target remains aligned, selected states are unmistakable, and text does not cover the evidence. Complete the route by pointer, keyboard, and the available non-spatial alternative. Zoom the page and check high-contrast or forced-color behavior where the deployment needs it. Verify that a wrong response teaches rather than merely rejecting the click.
Publish, then open the real shared or embedded page outside the editor. Ask a subject reviewer to verify every label, region, response key, route explanation, source version, and operational handoff. Ask a representative learner to state where they started, what landmark they used, what they chose, and what the lesson did not tell them. Record the date and owner of the result so later maintenance has a traceable baseline.
Interakly product boundaries
Interakly Image Studio places activities and passive overlays relative to the uploaded image, so floor-plan hotspots, labels, regions, and text retain their authored relationship as the canvas scales. Creators can use information, click-region, find-all, label, sequence, numeric, and other registered image activities, then preview and publish the learner route. Connected zoom scenes can link manually authored plan details; they do not generate or validate building data.
Interakly does not verify source accuracy, calculate live routes, monitor occupancy, detect hazards, enforce building codes, or replace CAD, BIM, GIS, facilities, emergency, or accessibility systems. Product response records describe configured learner behavior; they do not certify safe navigation or real-world performance. Use the visual-learning guide to place the plan inside a broader learning sequence and interactive-image examples to compare other spatial learning jobs.
Build a floor-plan lesson in Image Studio
Upload a verified drawing, add image-relative interactions, preview the learner route, and publish a responsive experience.
Sources and further reading
- OSHA example floor plan and text version.
- OSHA emergency-preparedness planning guidance.
- W3C tutorial: Complex Images.
- W3C tutorial: Image Maps.
- WCAG 2.2 understanding Target Size (Minimum).
- WCAG 2.2 understanding Keyboard.
- WCAG 2.2 understanding Pointer Gestures.
- Web Content Accessibility Guidelines (WCAG) 2.2.
FAQ
What can an interactive floor plan teach?
It can support building orientation, room or equipment inspection, route reasoning, plan-symbol interpretation, adjacency, area, scale, and other bounded tasks visible in a verified drawing. Define one primary learner job before adding markers.
Can I make an interactive floor plan from a PDF?
Export the approved plan page as a clear image at an appropriate resolution, then upload it to Interakly Image Studio. Preserve legible labels and record the source owner, version, level, date, scale, legend, and limitations. Do not use a screenshot whose accuracy or permission is unknown.
Which interaction works best on a floor plan?
Use information hotspots to reveal verified details, click regions for location or route choices, find-all activities when a complete set matters, sequence regions for ordered movement, labels for symbol learning, and numeric input for calculations supported by visible dimensions.
Can an interactive floor plan replace an emergency action plan?
No. A lesson can rehearse orientation or decision criteria, but it is not a live navigation system, posted plan, alarm, drill, or current instruction from responsible personnel. Emergency content requires current authoritative plans and qualified organizational, safety, legal, and accessibility review.
How do I make a floor-plan interaction keyboard accessible?
Ensure every activity has a logical keyboard path, visible focus, descriptive name, and an equivalent action that does not require drawing or following a multipoint gesture. Preserve room, level, route, landmark, and destination relationships in structured text rather than listing anonymous pins.
When should I use a live mapping or building system instead?
Use a purpose-built CAD, BIM, GIS, indoor-navigation, facilities, or emergency system when the task depends on current hazards, occupancy, search, turn-by-turn navigation, coordinate precision, live sensors, dynamic accessibility, editable building data, or operational control.
Turn a verified plan into a focused lesson
Upload the drawing, choose one spatial learning job, add clear interactions, and test the published learner route.
Create an interactive image